Now that the app can receive push notifications, we need to make sure that the Mattermost Push Notification Service is able to send the notification to the device. This guide will focus on installing and configuring the push notification service.
.p8) obtained by following the iOS Push Notifications guide.For the sake of making this guide simple we located the files at /home/ubuntu/mattermost-push-proxy. We’ve also elected to run the Push Notification Service as the ubuntu account for simplicity. We recommend setting up and running the service under a mattermost-push-proxy user account with limited permissions.
Download the latest Mattermost Push Notification Service:
wget https://github.com/mattermost/mattermost-push-proxy/releases/download/vX.X.X/mattermost-push-proxy-linux-amd64.tar.gz
or
wget https://github.com/mattermost/mattermost-push-proxy/releases/download/vX.X.X/mattermost-push-proxy-freebsd-amd64.tar.gz
In this command, vX.X.X refers to the release version you want to download. See Mattermost Push Notification Service releases.
If you’re upgrading a previous version of the Mattermost Push Notification Service make sure to back up your mattermost-push-proxy.json file before continuing.
Unzip the downloaded Mattermost Push Notification Service using:
tar -xvzf mattermost-push-proxy-linux-amd64.tar.gz
or
tar -xvzf mattermost-push-proxy-freebsd-amd64.tar.gz
Configure the Mattermost Push Notification service by editing the mattermost-push-proxy.json file at /home/ubuntu/mattermost-push-proxy/config. Follow the steps in the Android
and iOS sections to replace the values in the config file.
Create a systemd unit file to manage the Mattermost Push Notification Services with systemd and log all output of the service to /var/log/syslog by running this command as root.
echo "[Unit]
Description=Mattermost Push Notification Service

[Service]
Type=oneshot
ExecStart=/bin/sh -c '/home/ubuntu/mattermost-push-proxy/bin/mattermost-push-proxy | logger'
WorkingDirectory=/home/ubuntu/mattermost-push-proxy

[Install]
WantedBy=multi-user.target" >> /etc/systemd/system/mattermost-push-proxy.service
To route the traffic through a separate proxy server, add Environment="HTTP_PROXY=<http://server>" under the [Service] section of the file. If you have an HTTPS server, then use HTTPS_PROXY. If you set both then HTTPS_PROXY will take higher priority than HTTP_PROXY.
Start the service with sudo systemctl start mattermost-push-proxy or restart with sudo systemctl restart mattermost-push-proxy. Use sudo systemctl enable mattermost-push-proxy to have systemd start the service on boot.
Go to the Firebase Console and select the project you’ve created. Once in the dashboard, go to the project settings and select Service Accounts.
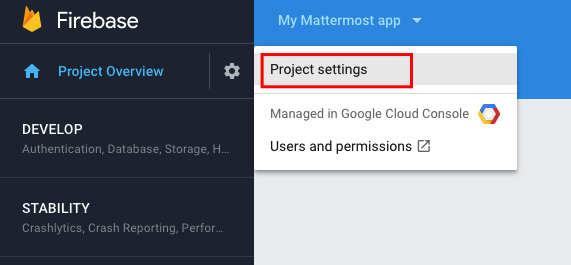

Click on Generate new private key and store the downloaded file.

Open the mattermost-push-proxy.json file in the mattermost-push-proxy/config directory and look for the “ServiceFileLocation” entry under “AndroidPushSettings”. Paste the location of the file as its value.
"ServiceFileLocation": "/path/to/downloaded_file"
Instead of certificates, we now recommend using an APNs Auth Key (.p8) to authenticate with Apple Push Notification service (APNs).
If you haven’t generated your key yet, see Generate an APNs Auth Key.
Open the mattermost-push-proxy.json file under the mattermost-push-proxy/config directory and configure it with your key details:
"ApplePushSettings":[
    {
        "Type":"apple_rn",
        "ApplePushUseDevelopment":true,
        "ApplePushTopic":"your.bundle.id",
        "AppleAuthKeyFile":"./config/beta/YourAuthKeyFile.p8",
        "AppleAuthKeyID":"YourAuthKeyID",
        "AppleTeamID":"YourAppleTeamID"
    }
],
ApplePushTopic: Your app’s bundle ID (APNs topic).
AppleAuthKeyFile: Path to the .p8 file.
AppleAuthKeyID: Key ID from Apple Developer portal.
AppleTeamID: Team ID from Apple Developer Membership.
ApplePushUseDevelopment: true for sandbox APNs, false for production.
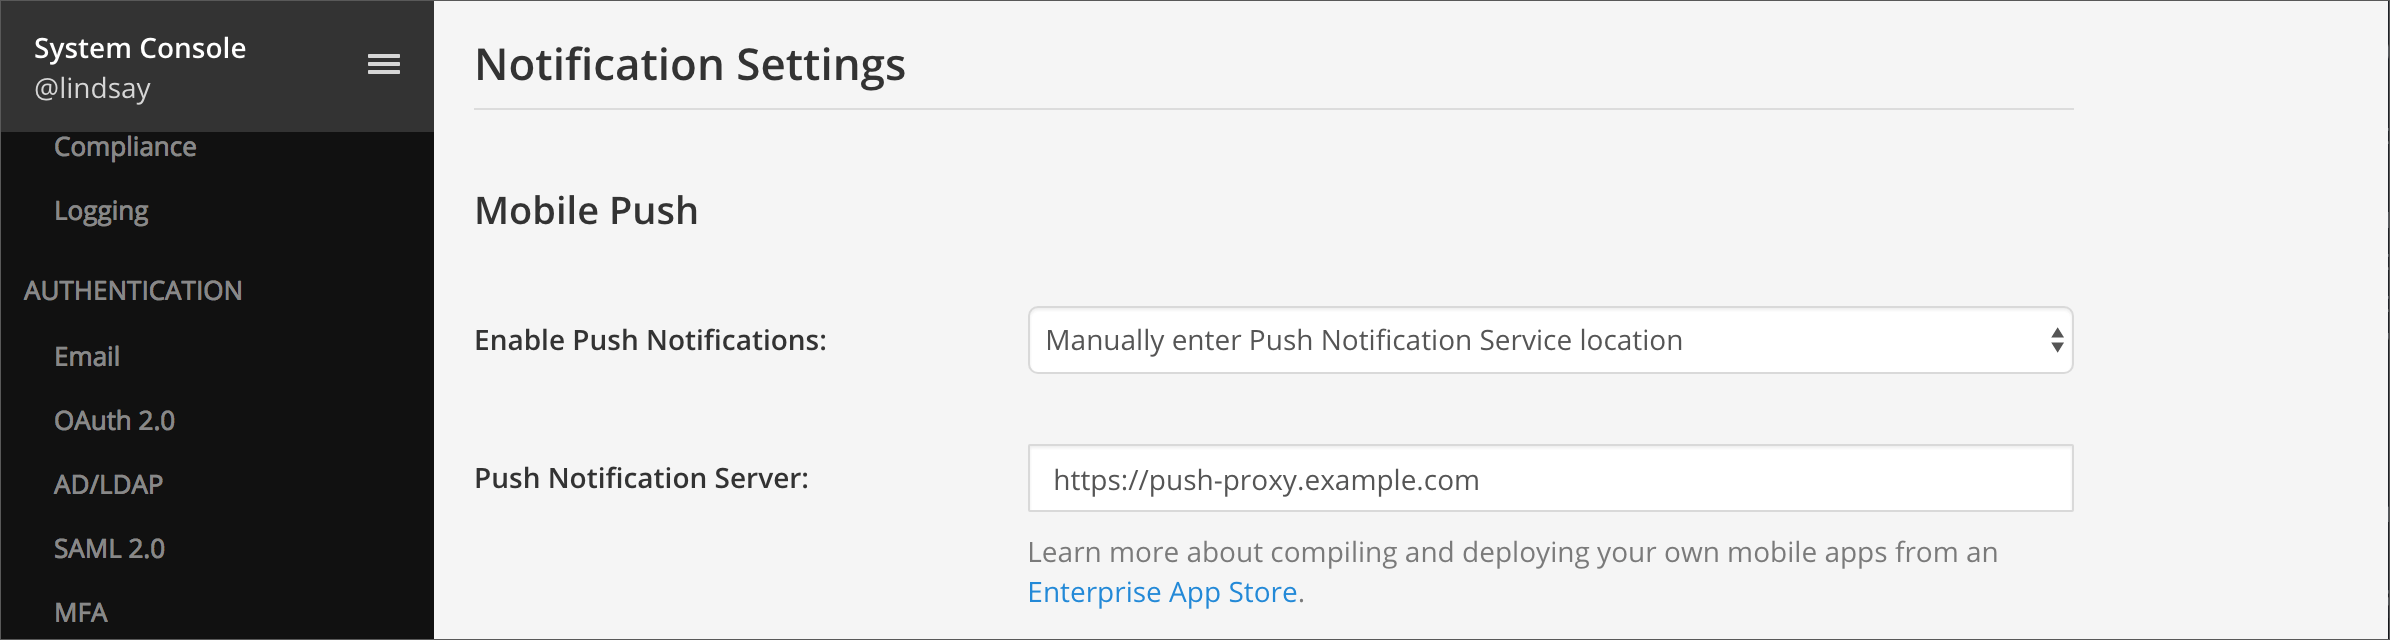
In your Mattermost instance, enable mobile push notifications.
Go to System Console > Notifications > Mobile Push.
Under Send Push Notifications, select Manually enter Push Notification Service location.
Enter the location of your Mattermost Push Notification Service in the Push Notification Server field.
(Optional) Customize mobile push notification contents.
Go to System Console > Notifications > Mobile Push.
Select an option for Push Notification Contents to specify what type of information to include in the push notifications.
Most deployments choose to include the full message snippet in push notifications unless they have policies against it to protect confidential information.

Finally, start your Mattermost Push Notification Service, and your app should start receiving push notifications.
Verify that the server is functioning normally and test the push notification using curl:
curl http://127.0.0.1:8066/api/v1/send_push -X POST -H "Content-Type: application/json" -d '{"type": "message", "message": "test", "badge": 1, "platform": "PLATFORM", "server_id": "MATTERMOST_DIAG_ID", "device_id": "DEVICE_ID", "channel_id": "CHANNEL_ID"}'
MATTERMOST_DIAG_ID with the value found by running the SQL query:
SELECT * FROM Systems WHERE Name = 'DiagnosticId';
DEVICE_ID with your device ID, which can be found using (where your_email@example.com is the email address of the user you are logged in as):
SELECT
   Email, DeviceId
FROM
   Sessions,
   Users
WHERE
   Sessions.UserId = Users.Id
      AND DeviceId != ''
      AND Email = 'your_email@example.com';
CHANNEL_ID with the Town Square channel ID, which can be found using:
SELECT Id FROM Channels WHERE DisplayName = 'Town Square';
To view the log file, use:
$ sudo tail -n 1000 /var/log/upstart/mattermost-push-proxy.log
For iOS / Apple Push Notifications: If the logs are reflecting DeviceTokenNotForTopic (error 400) this may be because you’re using an older / previous Device ID. Re-run the queries you need to get device IDs and test.
This could also be because you generated a key for the wrong bundle ID. The bundle ID used in mattermost-push-proxy.json should be the same one as the app, and should be for the same app it was generated for.
For issues with repro steps, please report to https://github.com/mattermost/mattermost/issues